Getting Started

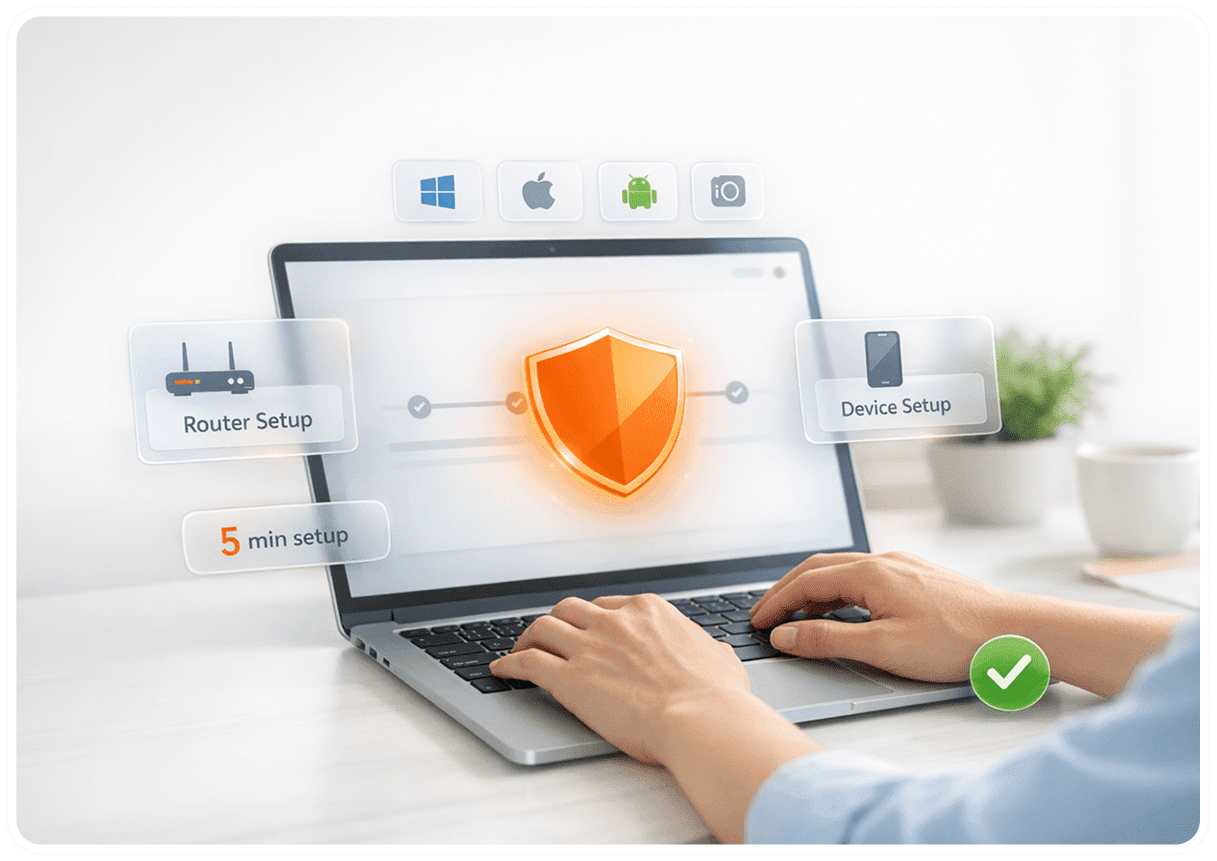
CleanBrowsing can be configured at the Router or on the device directly. It should take no more than 5 minutes to configure.

We offer apps on the most popular operating systems: Windows, Mac, iOS and Android. It can be configured manually on any device that has DNS settings.

Let's go through the steps and get you setup.

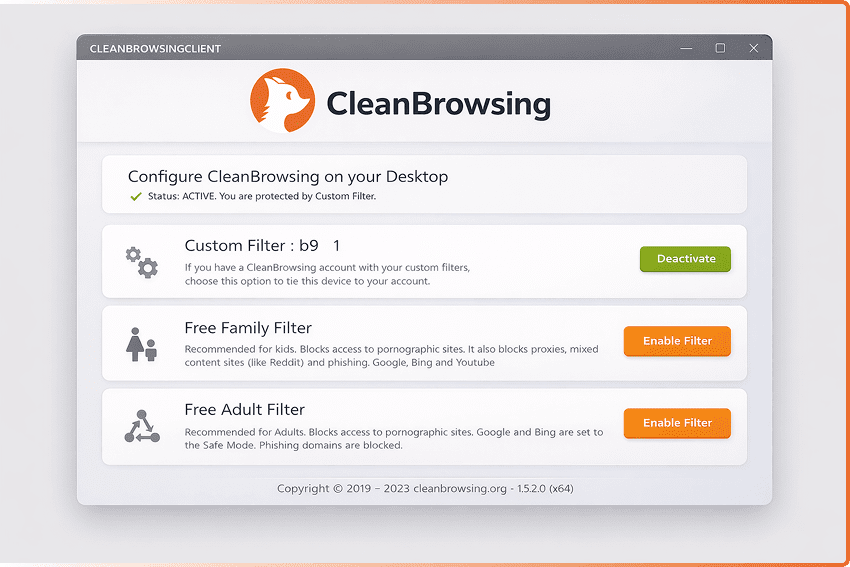
Paid Options Aavailable
Starting as low as $59.99 / year

Three Steps to Configuring CleanBrowsing

Step 1

Choose Deployment Type

The key to a seamless deployment is knowing how you want to deploy the service. You have two options a) on the device locally, or b) on the router. We've prepared a guide to help you think of the best deployment for your needs.

Deploying on the router will cover all the devices that connect to it for the internet (i.e., ideal for homes). Deploying on the device itself will set rules for that device only.

Our Help Repository is rich with instructional guides to help you with which ever direction you choose:

Step 2

Set DNS Values

CleanBrowsing provides access to Free and Paid filters. Be sure to know which filter you plan to use when you begin.

More info on Free filters (here) and Paid filters (here)

185.228.168.168

185.228.168.168

Add these values to your settings > DNS options. Every device is a bit different, be sure to leverage our guides according to the type of device you are deploying this on.

Step 3

Verify Configuration

The final step in the process is to verify everything is as it should be.

The easiest verification technique is to go to dnsleaktest.com and run the standard test. The output should show CleanBrowsing in the hostname.

Alternatively, you could try visiting badexample.com. If the site is not accessible, things are looking good.

We provide a more comprehensive guide to verifying the status that might prove valuable.

Have a question?

Whether it is a sales, or a support question, the best way to get a hold of us is via email.