As a paid customer you have the option to create unique Profiles on your account. Your plan size will dictate how many.
Profiles are a simple way to group devices, networks, locations to a specific filter. For example, a common use case might be a Parent and Child profile.
The Parent profile might have unfettered access to the network, while a Child profile has more restricted access. Each profile is assigned a new DNS IP which allows the network owner to apply specific rules to the users of a specific profile.
Understanding how Profiles Work
This video will explain how profiles work.
This guide will provide instructions on how to leverage this feature.
1. Creating a New Profile
Creating a profile usually occurs post initial service configuration. It is located in the Profiles settings page. By default, every account will have one profile that cannot be removed, titled Default.
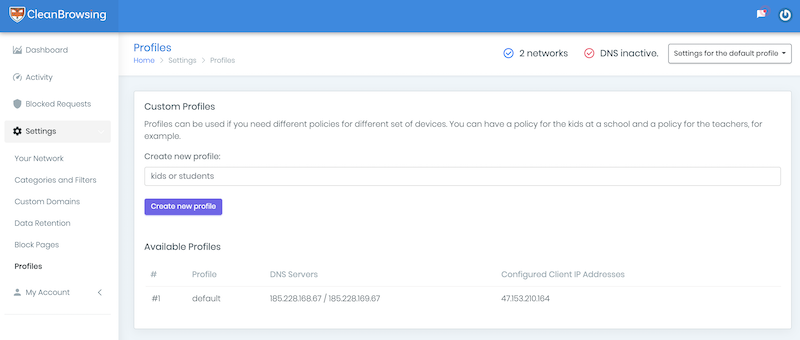
To create a new profile, simple type in the name of the profile you want:

Click Create new profile
This will create a new line item in the original image:
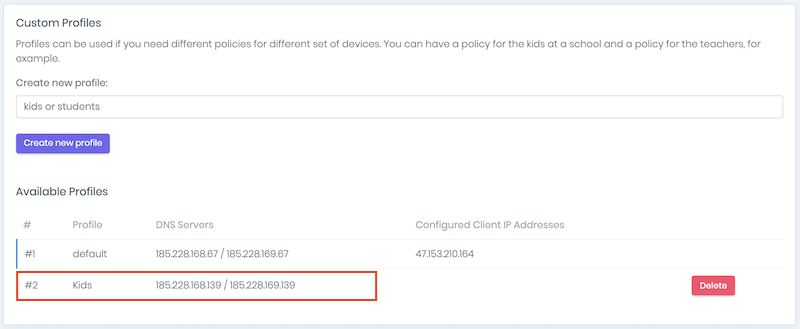
2. Bind a Public IP to the Profile
Similar to the initial setup process a public IP needs to be bound to the DNS IP’s assigned to the profile. As a reminder, these DNS IP’s are shared; binding the public IP tells the system what filters to apply to what requests.
To bind the public IP to the profile, you need to navigate to the Your Network settings page.
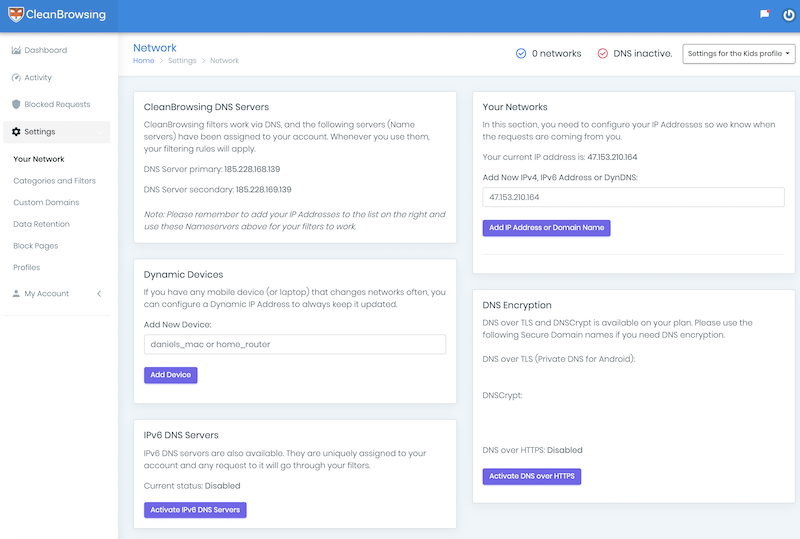
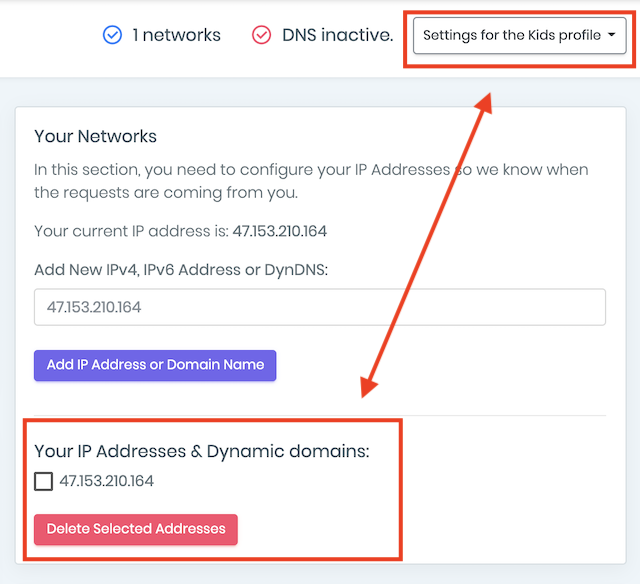
Before you make any change on this page, be sure you’re working on the right profile. You do that by selecting the profile selector at the top-right, under the profile image.
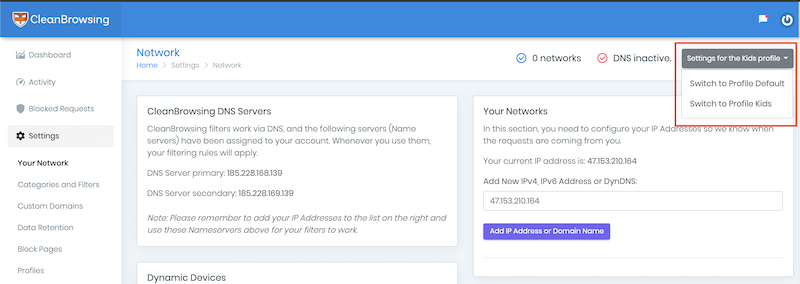
Once the right profile is selected, you can proceed to bind your public IP.
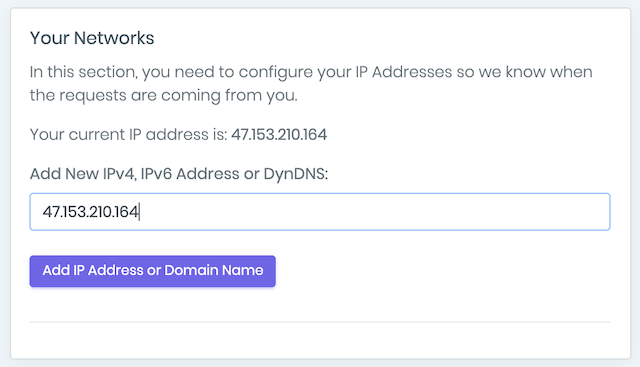
You should not have to search for your public IP, the system will dynamically pull the public IP of your location in the Your Networks card.
Your current IP address is: 47.153.210.164
Type the provided IP into the input box, and click Add IP Address or Domain Name.
If successful, it’ll look something like this:
You will also be able to confirm by looking at the Profiles settings page.
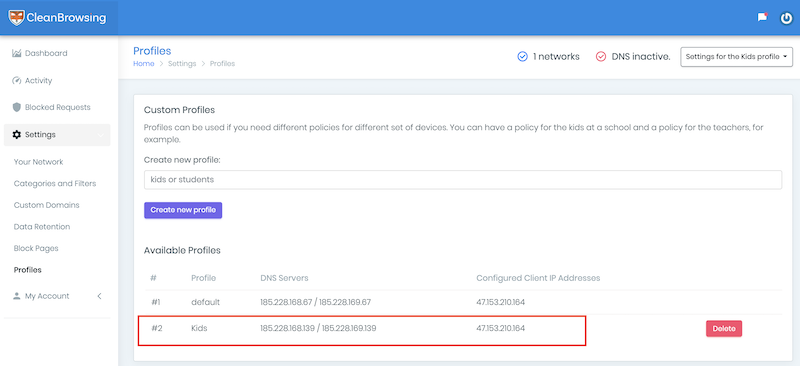
4. Tuning Rules for Each Profile
Similar to the original setup, you have granular control of the filters for each profile. Whether working with the Categories and Filters settings page or the Custom Domains settings page you will have to be sure to select the appropriateprofile each time.
Selecting the right profile is the same as Step 2 above on each page.

Enjoy a Clean Browsing Experience
That should be it, moving forward you’ll have explicit control of your network. If you ever have an issue, please feel free to contact us at support@cleanbrowsing.org.
