For users that require advanced functionality, you will need to use the app provided via this link. Advanced functionality includes removing the users ability to uninstall the app. Because it makes use of the Accessibility API to prevent the user from uninstalling the Google review team will not approve. We will continue to work with them on an exception.
You have three options when configuring your Android device:
- CleanBrowsing App (Direct Download) (Android Versions newer than 9)
- CleanBrowsing App (Google Playstore) (Android Versions below 9)
- Manual Configuration Using Private DNS (Android Versions 9+)
CleanBrowsing App for Android Version 9 and Newer
This guide will show you how to use the CleanBrowsing app for Android versions 9 and newer. This app takes advantage of new native capabilities introduced in Android version 9 and introduces advanced features that are not allowed via the Google Play store.
We are working with Google to get this version of the app approved. But because it hardens the device, preventing a user from removing it, it breaks the existing policies for how the Accessibility feature can be used. The minute it is approved, we will update the PlayStore app with this version.
This version will require you to remove the old version, and will not remember previous settings. Future versions built on this version will.
Step 1: Download and Install CleanBrowsing
The first step in the configuration process is to click on the link above and download the app to your phone.
Your phone might provide a security warning saying this app is not allowed due to security settings. Set the security settings to allow apps from the browser to complete the install.
Follow the prompts to complete the install.
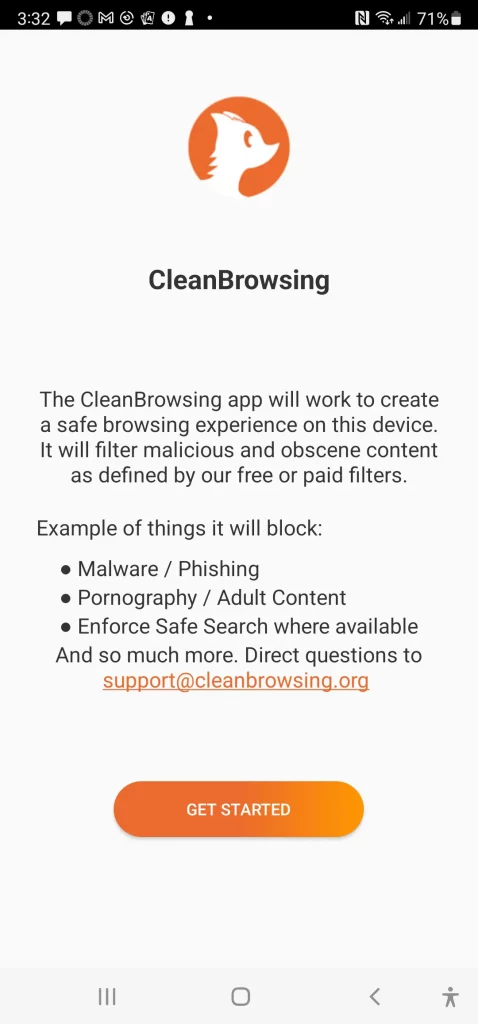
Successful install will show the following screen:
Step 2: Give Accessibility Control to App
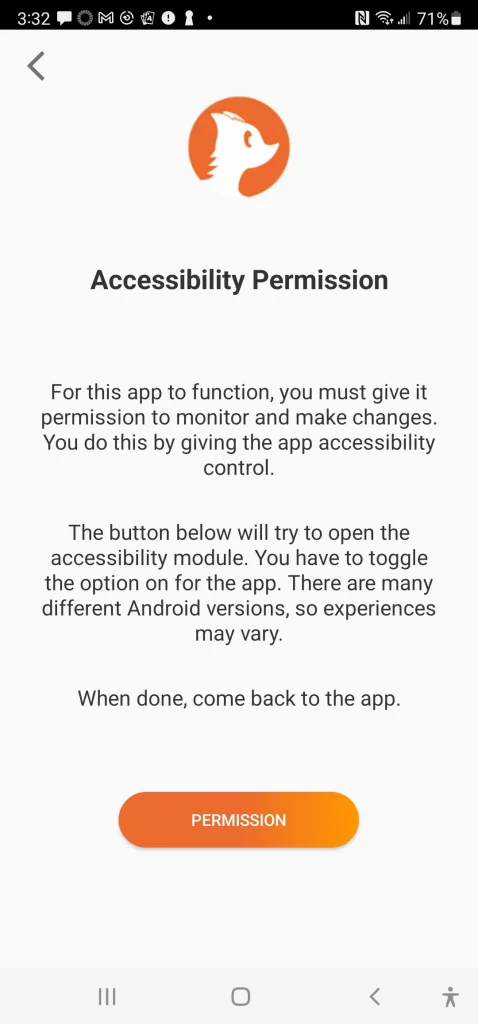
For the app to work you must give it accessibility permission. This will be the first prompt when you get started with the app.
The app will try to open the accessibility module within your Android device.
The accessibility module is typically located inside “Installed Apps” in the device settings. You toggle permissions next to the app name (i.e., CleanBrowsing). After enabling, you should be prompted with a message like this:
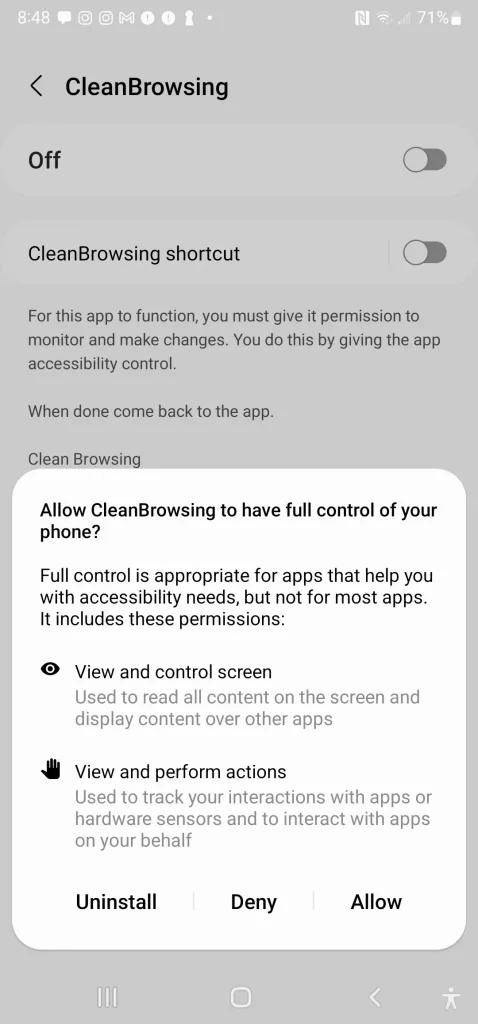
Clicking “allow” should redirect you back to the CleanBrowsing app.
Step 3: Select a Filter Type
Once the app has been given accessibility permission you can set the filter. You will be presented with two options – Paid and Free filters.
| Filter | Description |
|---|---|
| Paid | This option lets you configure the app with your paid CleanBrowsing account.
The app will ask for a code, this code is issued in your account dashboard. |
| Free | This option lets you choose between the free Family and Adult filters. |
After selecting a filter, the app will try to automatically configure the filter.
This feature leverages the native encrypted DNS option within Android (i.e., Private DNS). It will try to locate and automatically configure the filter.
If the app is not able to automatically configure the private DNS it will present you with instructions on how to configure the settings. It will look like this:
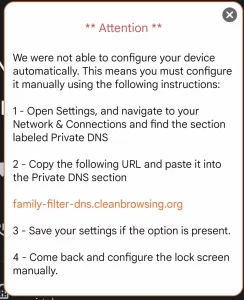
Because of the number of Android deployments available we had to create a way to allow users to manually configure. We’ll work to keep the app updated for automatic configurations but there are instances where it might not be possible a manual configuration will be required.
Step 4: Harden The Device
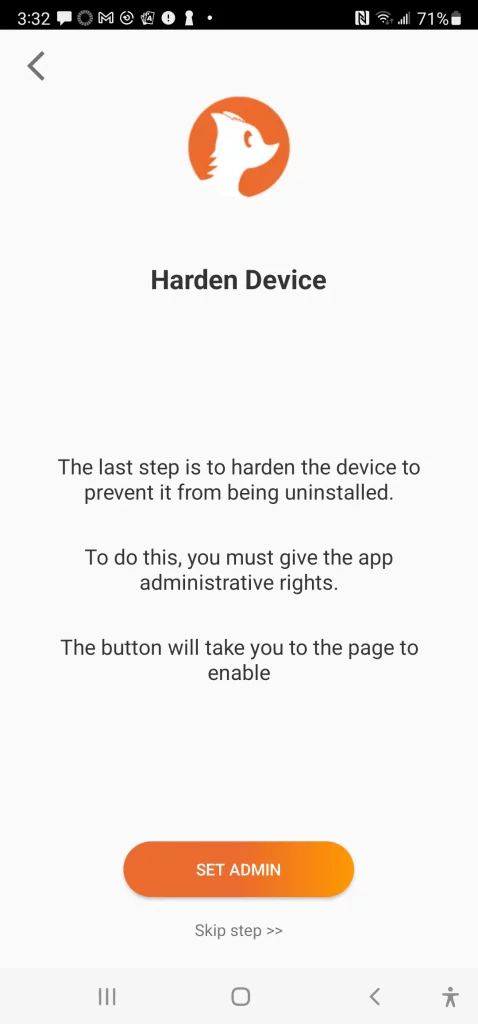
After configuring the Private DNS options you will want to harden the device. Hardening helps protect the app from intentional or unintentional removal (i.e., stop a user from uninstalling).
To do this, the app needs admin privileges. These privileges will supersede the local admin credentials. This will be the screen you’re presented with after Step 3 is complete:
Step 5: Set a Passcode to the App
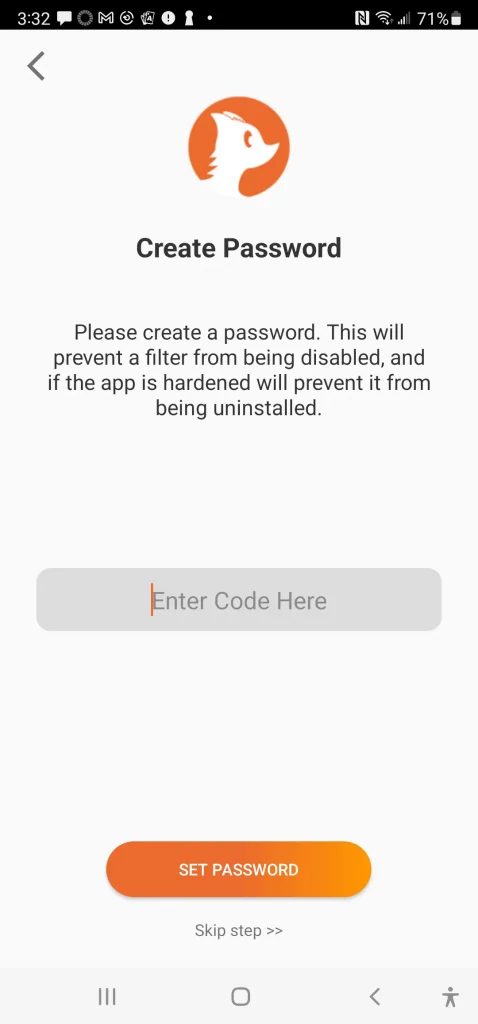
After giving the app admin permissions, you will set a passcode. This passcode will be different from the one used to open your device. This will be the code required to change filters, or access the settings in the CleanBrowsing app.
Options: Settings Page
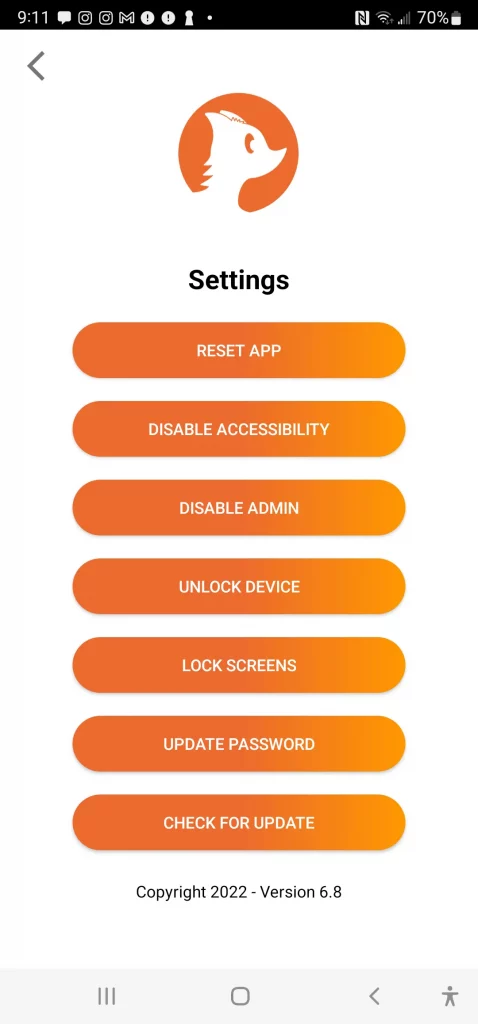
The app has a rich settings page that is protected by the passcode set in Step 5. Via this page, the user can reset the app, reset the password and manipulate the settings above. It also includes features to lock specific screens in the device settings section and look for updates.
Here is a list of the options available in settings:
| Option | Description |
|---|---|
| Reset App | Erases the app configurations, starts new. |
| Disable / Enable Accessibility | This sets or disables the accessibility permissions set above. If it’s set, it will allow you to disable and if it’s not set you can enable it. |
| Disable / Enable Admin | This sets or disables the admin permissions set above. If it’s set, it will allow you to disable and if it’s not set you can enable it. |
| Lock / Unlock Device | This features prevents the device from being removed. It must be unlocked to uninstall, when it’s locked the user won’t be able to remove the app. |
| Lock Screens | This option shows you the different screens that have been locked by the app. You can enable and disable screens via this section. |
| Update Password | Used to change the app password. |
| Check for Update | Checks to see if there is a newer version of the Android app available. |
This is what it will look like:
Options: Lock Screens
This feature allows a user to select specific screens in the Android settings page to block from the user. This feature will list all screens that are locked like this:
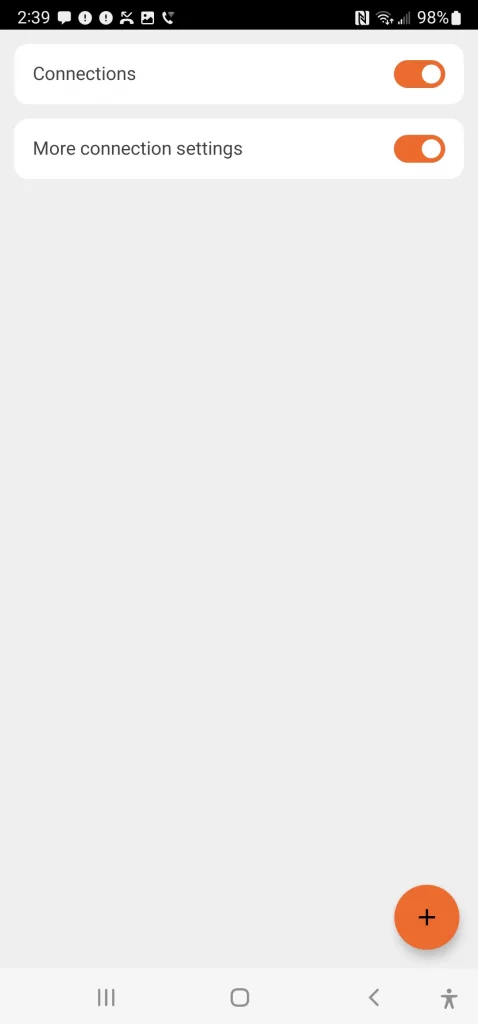
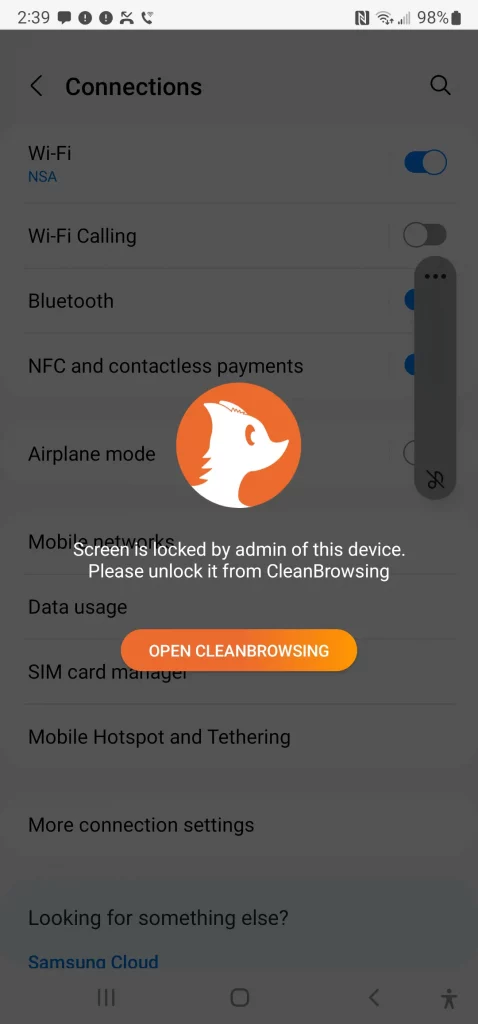
And all screens that are locked by CleanBrowsing will look like this:
