
These instructions will provide guidance on how to configure CleanBrowsing on Buffalo Airstation WZR-1750DHP / WZR-1166DHP routers.
Step 1: Access the router
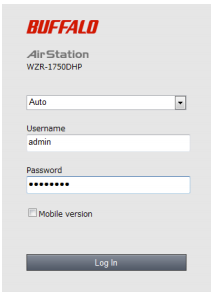
To get started configuring the Buffalo router you need to log into your router. If you are already logged in you can skip this step.
You can navigate to 192.168.11.1 in your browser. This is the IP the router will configure by default when it’s connected to your ISP gateway. If this IP doesn’t work you can use some of the defaults we provide on our generic router configuration page: Generic Router Instructions. By default, the username is “admin” and the password is “password”. If you have changed the defaults, then enter your corresponding information.
You will need to log in using your administrator credentials.
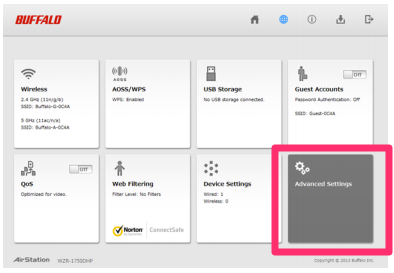
Step 2: Navigate to DNS Section in the Router Dashboard
Click on Advanced Settings
Step 3: Update DNS Settings
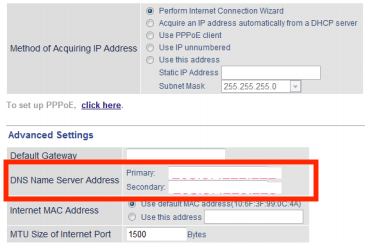
Type the CleanBrowsing addresses in Address of DNS Name Server fields.
Enter the primary DNS server address in the box labeled Primary. This is the address that is always used first.
Key in the secondary DNS server address in the box that reads Secondary. This becomes a backup and is only used if the first can’t be located.
The CleanBrowsing Family IP’s are:
- 185.228.169.168
- 185.228.168.168
Note: If you have a paid plan use the DNS IPs provided in your account.
Finally, click the Apply button before you exit.