
These instructions will provide guidance on how to configure CleanBrowsing on a TP-Link router. You can find the user guide for this device here: https://www.tp-link.com/us/user-guides/tl-wr802n_v4/
🛡️ CleanBrowsing: Internet Safety Made Simple
Filter harmful websites, block adult content, and protect your entire network. All with fast, privacy-respecting DNS.
Start Filtering Here →Step 1: Access the router
You access the router by navigating to http://tplinklogin.net in your browser browser. If that doesn’t work, you can try 192.168.0.1 or 192.168.1.1. If these IP’s doesn’t work you can use some of the defaults we provide on our generic router configuration page: Generic Router Instructions
You will need to log in using your administrator credentials.
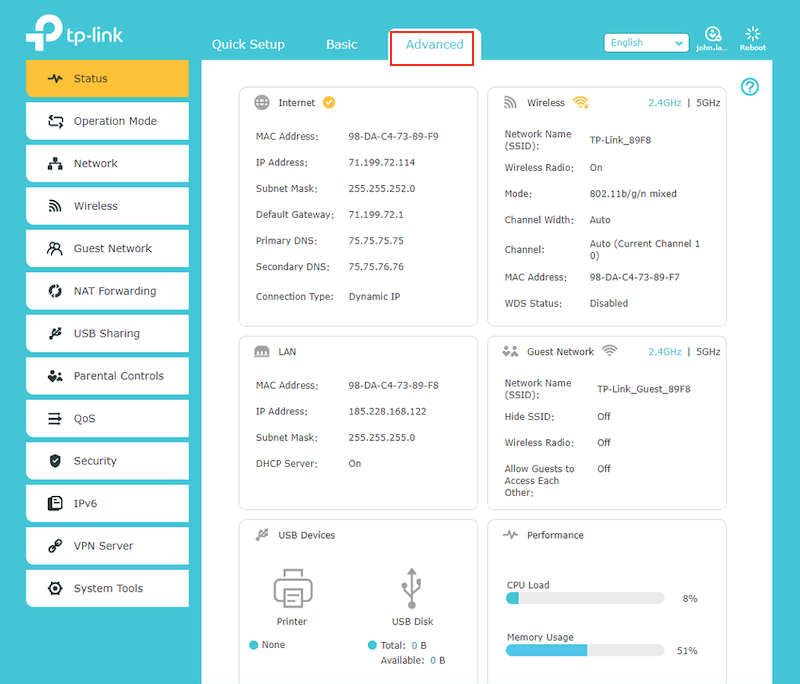
Step 2: Navigate to Advanced Setup menu
Click on the Advanced menu button.
Step 3: Navigate to Internet Settings
To access the DNS settings you have to navigate to the Network > Internet settings:
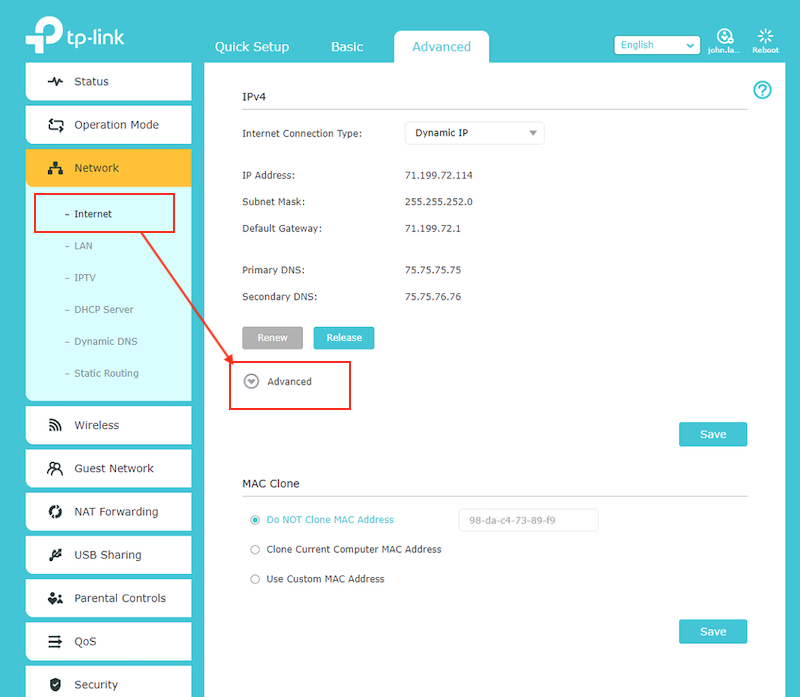
Click on Advanced drop down.
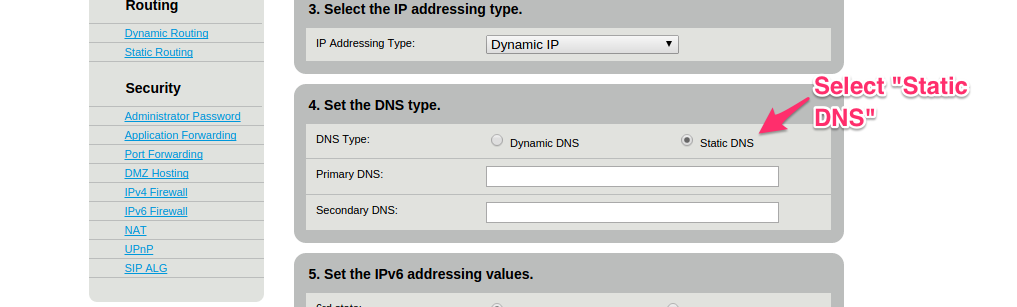
Step 4: Update DNS
The drop down will expose the DNS section. Select the Use the Following DNS Addresses option.
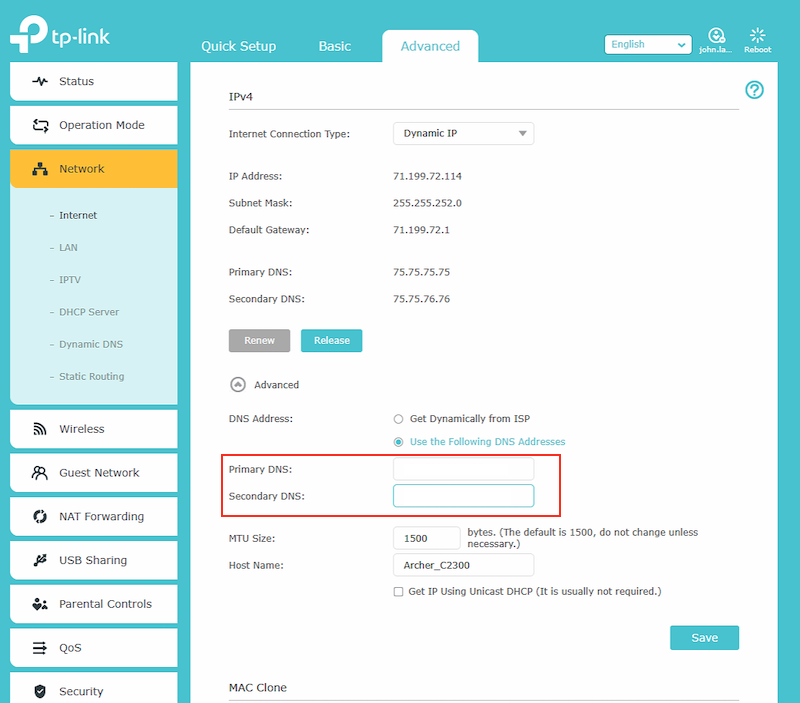
The CleanBrowsing Family IP’s are:
- 185.228.169.168
- 185.228.168.168
Note: If you have a paid plan use the DNS IPs provided in your account.
You will need to enter a unique IP entry for both the Primary and Secondary DNS input boxes. You can use any of our free filters or any of the IPs provided in your paid plans.
📦 Push DNS Logs to a Secure SIEM with Trunc
Trunc helps you forward CleanBrowsing DNS logs—and other system logs—to a secure, cloud-hosted SIEM. Get real-time visibility, threat detection, and compliance reporting without the overhead.
Explore Trunc →