Description: DNS (Domain Name Service) values are normally issued to the router by your Internet Service Provider (ISP). Most ISP’s empower the router owner to update the DNS values with their preferred service. Here is how to do that in a Tenda Router.
Step 1: Access The Tendra Router
On any computer that is already connected to the router, open a web browser. In the address bar at the top, type the IP address of the router (the default for Tenda routers is 192.168.0.1) and press the enter key.

This will open the Tenda login screen. Type the username and password associated with the router and press OK. (The default username and password are both admin).
Step 2: Update DNS Values
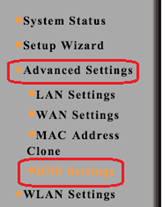
Now we update DNS, and we do that by navigating to Advanced Settings then scroll to the DNS settings section.

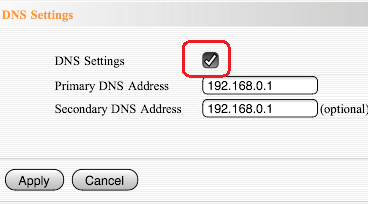
Click on the check box to the right of DNS settings option.

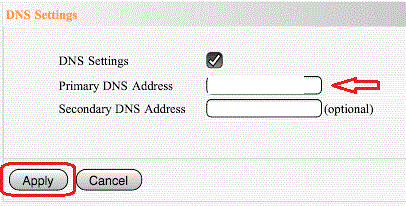
Erase the values found in the Primary and Secondary address fields and update with your own values.

Click “Apply“.
