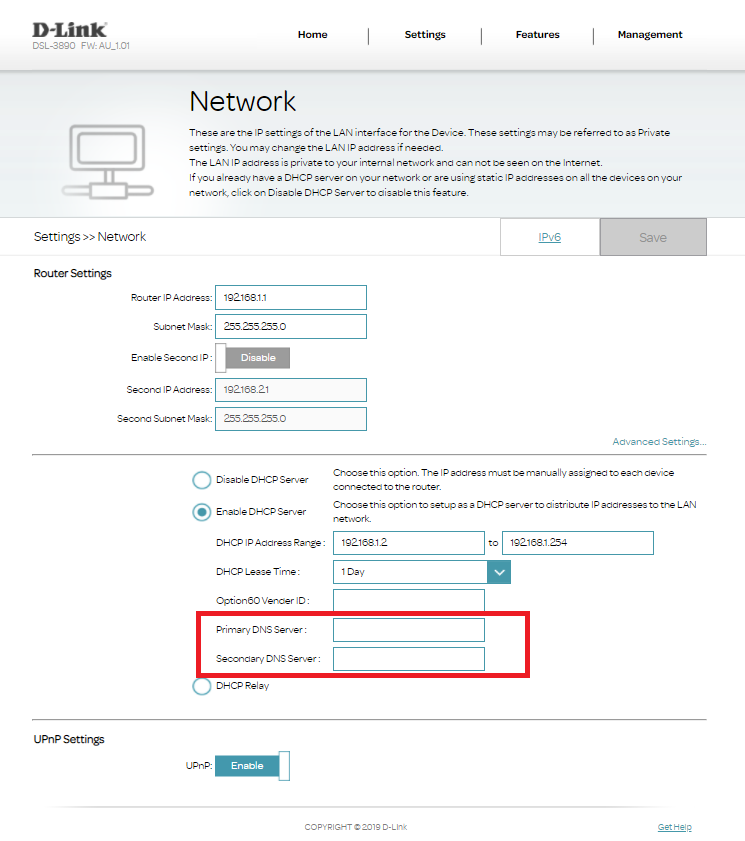
The article will show you how to update the DNS settings on your Dlink DSL-3890 router.
How to Update DNS
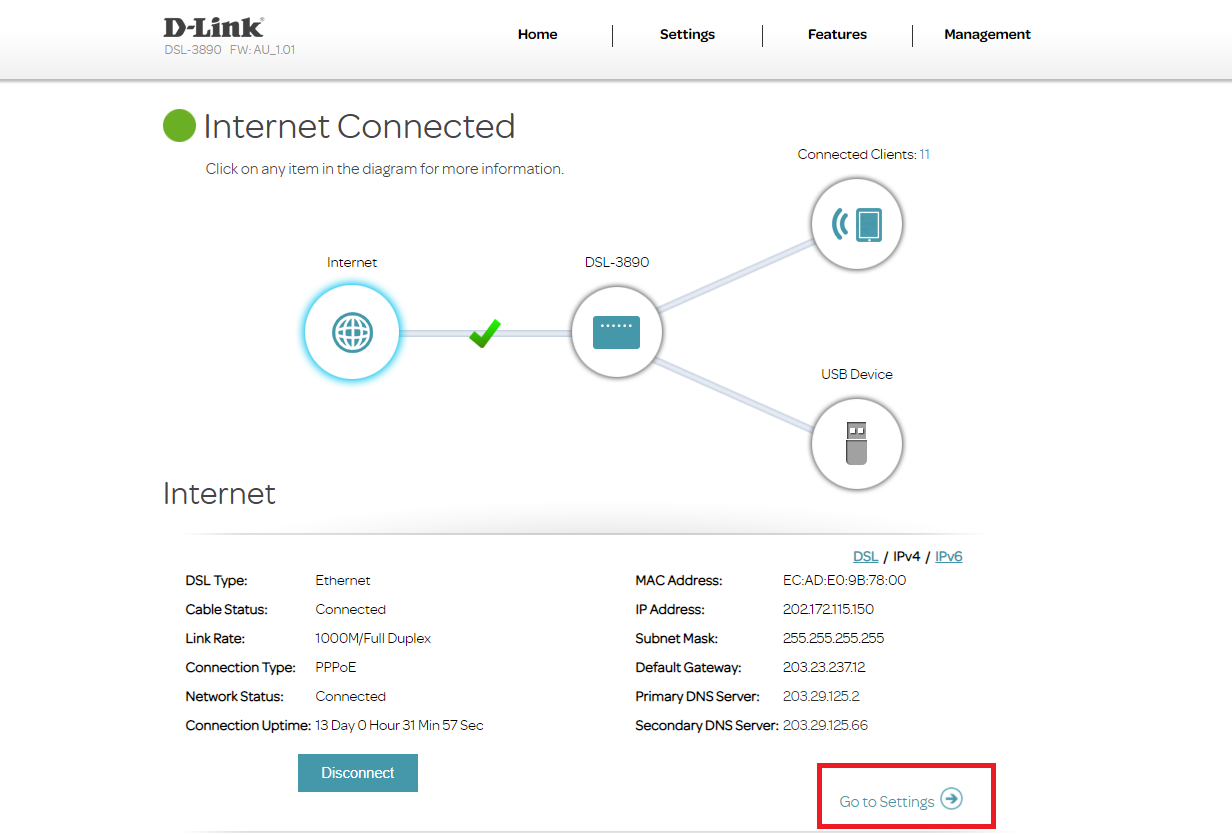
From the router home page, click on Go To Settings.
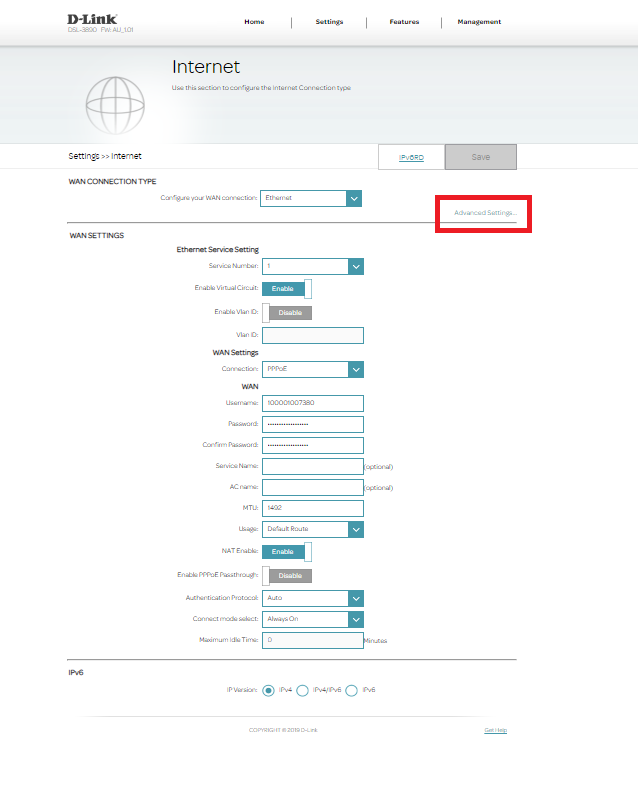
From the settings page, click on Advanced Settings:
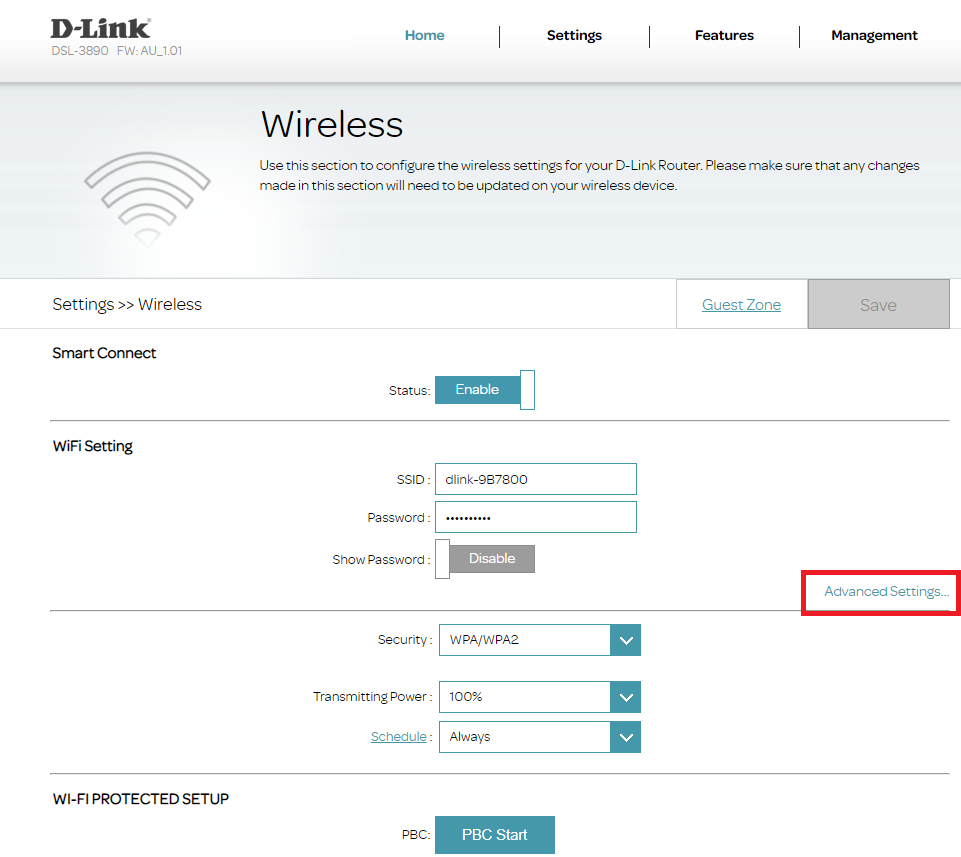
This will take you to the Wireless settings. On this page, click on Advanced Settings again.
This page will open the Network settings, and on this page you need to click on Advanced Settings again.
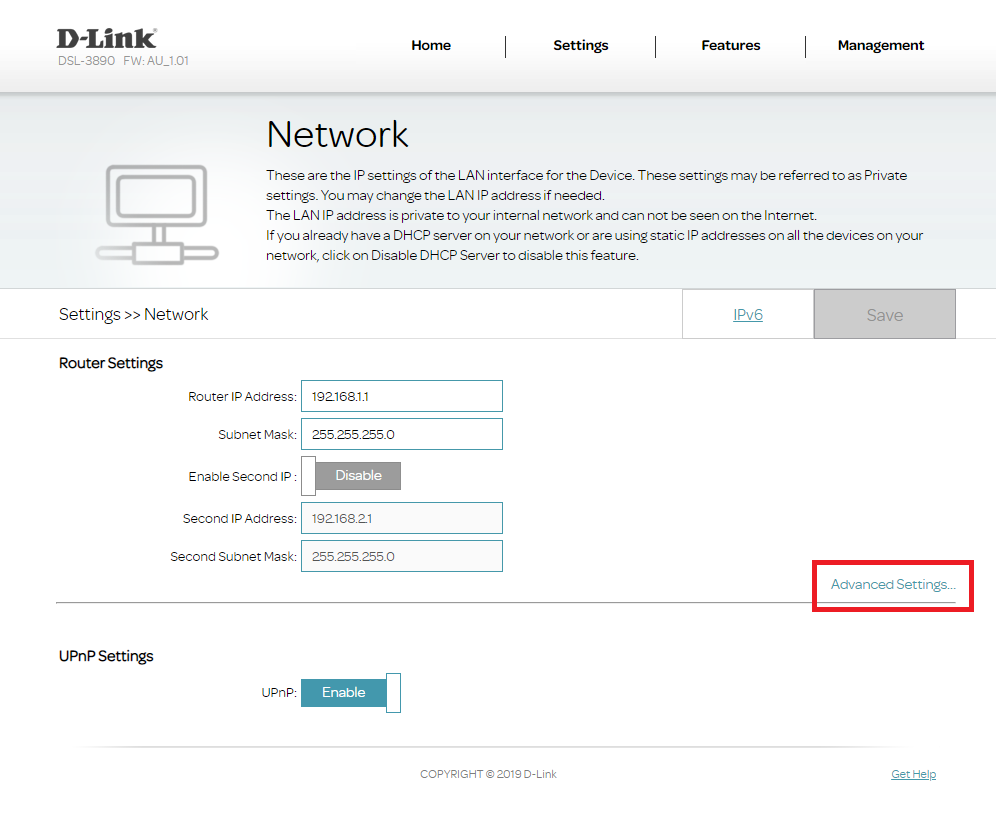
This will expose new options for the network, including the DNS configuration you’d like to use.
Simply update the Primary DNS Server and Secondary DNS Server input boxes with your desired values, and click apply or save on the page.
