If you are running an Android OS that is older than the 9 you will be limited to using the app available in the Google play store. This app will deploy a local VPN that encrypts all DNS traffic, but it does not offer some of the hardening features available in Android versions 9 or greater.
The app will ask for administrative privileges, this is necessary to ensure the app stays active on reboot if the “always on” feature is enabled.
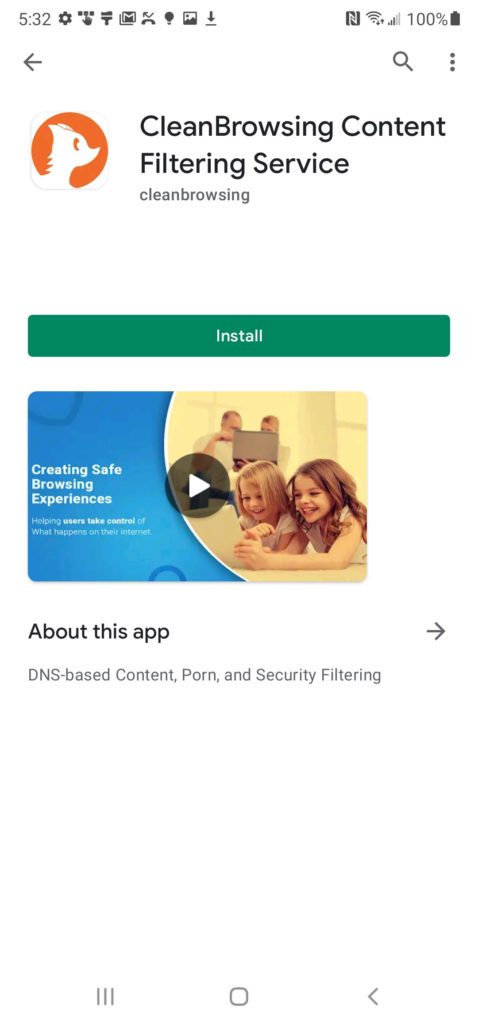
Step 1: Install the Android App
The PlayStore app will support the Free and Paid filters. All users can bind the app to their preferred profile in the CleanBrowsing using the app codes found in your dashboard.
Step 2: Configure the Filter
Upon installing the app you will need to select the appropriate filter.
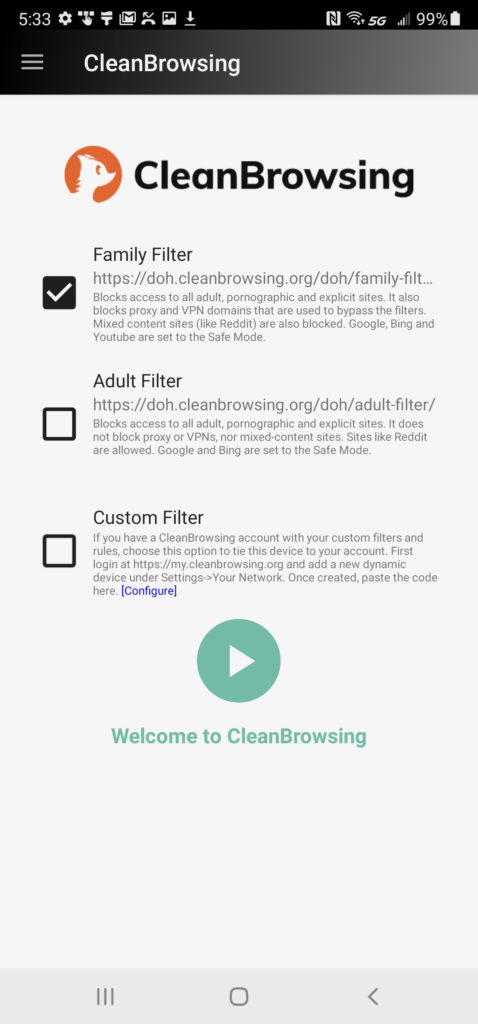
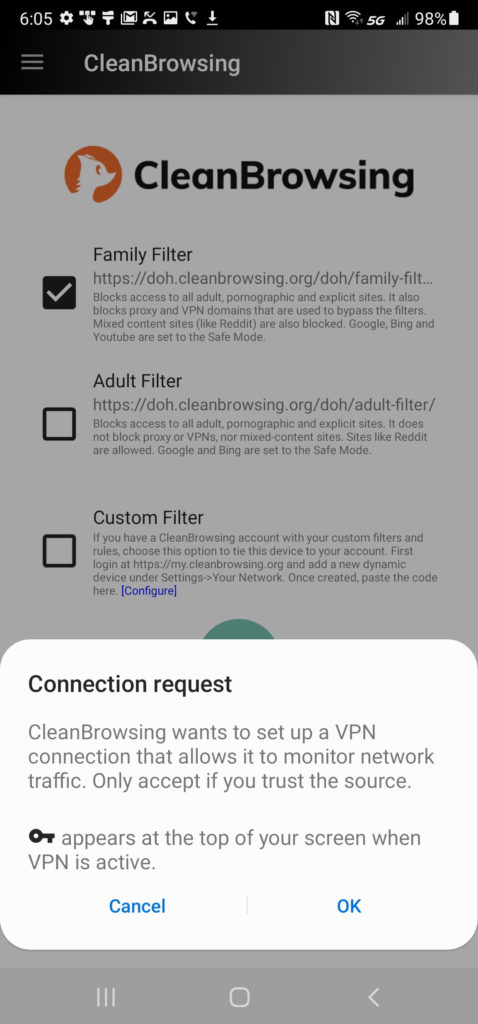
When you click the “play” icon the system will ask if you approve the VPN, select “ok”, and it will being filtering immediately.
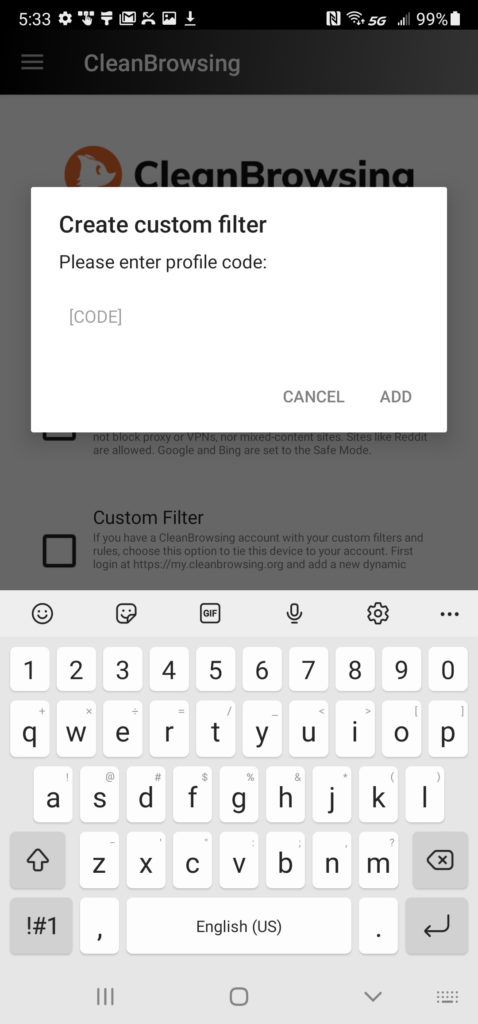
Paid customers can choose the “custom” option. It will ask you for a code. This code is found in the “Your Network” panel.
Step 3: Set a Pin
The final step is to a pin. This pin will prevent a user from updating the filter that has been set on the device.
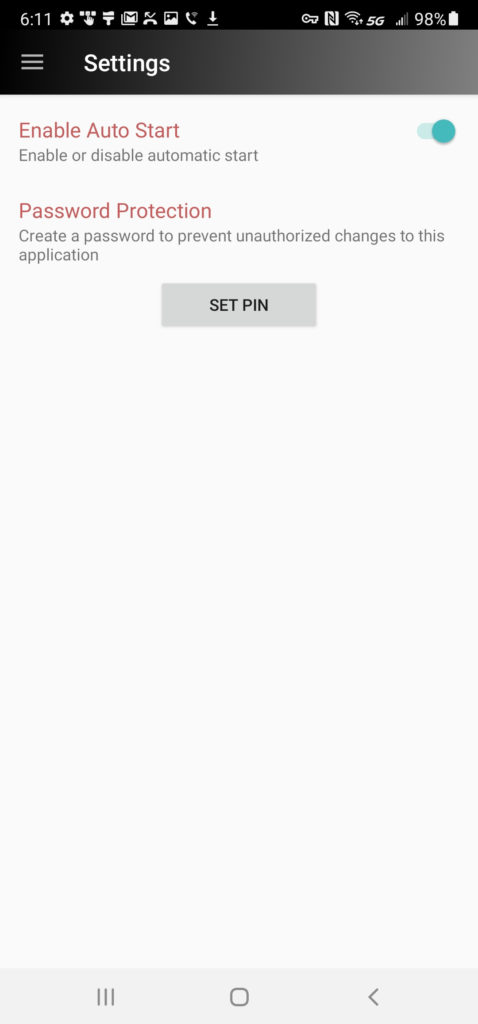
Access this option in the settings panel.
This page also allows you to change the pin. If you forget the pin, you will need to uninstall the app and start over.
