
These instructions will provide guidance on how to configure CleanBrowsing on a Eero Pro router. Eero routers are fully managed via the Eero apps (what is required.)(Android and Apple).
Step 1: Open the Eero app
You access the router via the Eero app. Click the Eero app icon.
Step 2: Navigate to DNS Section in the Router Dashboard
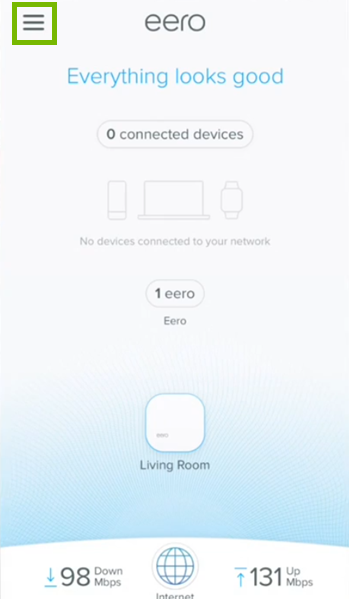
Click the menu icon on the app home page..
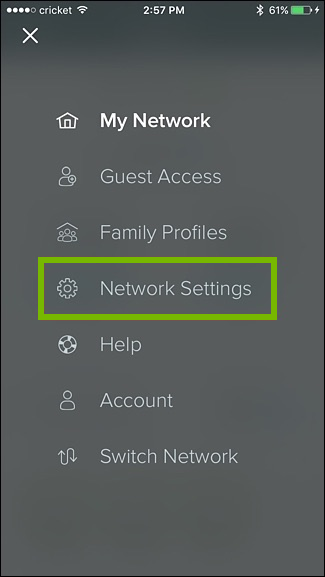
Click on Network Settings.
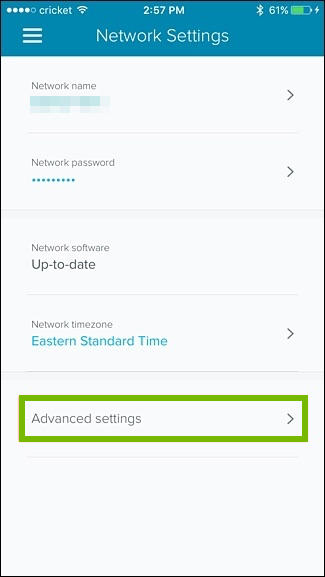
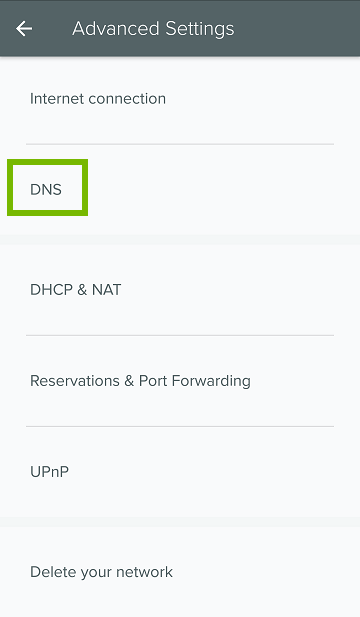
Click on advanced settings.
Step 3: Update DNS Settings
Click on DNS
Click on Custom DNS and enter the values into the Primary and Secondary options.

The CleanBrowsing Family IP’s are:
- 185.228.169.168
- 185.228.168.168
Note: If you have a paid plan use the DNS IPs provided in your account.
The final step is to save the change by clicking on Save Settings. You might lose connectivity while the router reboots, that’s ok.Note: If you have a paid plan use the DNS IPs provided in your account.